How to Create a OS Disk Image for a VM
Part of the process of adding a VM is to install its operating system. There are several ways to install an OS. This topic covers how to create an OS disk image for the VM to use. YaST's System > Virtual Machine Management (Xen) module makes it easy to create an OS disk image from an OS installation program.
To Create an OS Disk Image for a VM
- Make sure you have the OS installation program CD/DVD or access to the OS's installation source.
- Launch YaST.
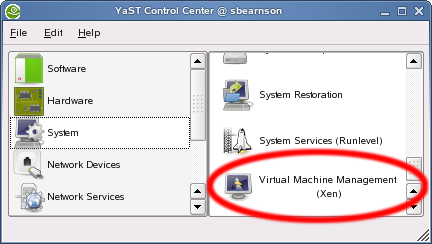
- Click System > Virtual Machine Management (Xen).
- From the Manage Virtual Machines screen, click Add.
- Choose Run an OS Installation Program, and then click Next.
- Click Operating System Installation.
- Select whether the OS installation program is located on CD/DVD, as ISO image files, or as a Network Installation Source, and then click Next.
- Change any other settings (as required) on the Virtual Machine (Installation Settings) screen, and then click Next to start the OS install program in a separate window.
- Complete the OS install program following the onscreen instructions. Depending on your method, one of the following topics may be helpful.
- After the first part of the OS install program completes, change any settings (as required) on the Virtual Machine (Final Settings) screen, and then click Next to reboot the VM's OS and continue the installation program.
After the install program completes, the OS disk image is saved as a file in /var/lib/xen/images/vm_name/hda where vm_name is the name of the VM. Its corresponding configuration file is saved to /etc/xen/vm/vm_name. You can copy this image and its associated configuration file to another computer running Xen VM Server and run it as a VM.
This page is part of:
